Last updated November 18, 2026







Free written scope consultation - allowances, timeline, and change-order rules on paper before a single trade is scheduled
Home Remodeling Troubleshooting: Common Problems and How to Fix Them
A paint job that peels in six months on a newly remodeled room is almost never a paint quality problem. It’s usually a drywall finishing or primer failure that the paint just made visible. That pattern holds across almost every remodel complaint we see in Grand Prairie. The popped tile, the sticking door, the trim that splits at the corner: the thing you can see is rarely the thing that went wrong. It’s the fingerprint of a sequencing miss, a skipped step, or a scope gap that was never written down. This guide works backward from the symptom to the process failure behind it, so you know what you’re actually fixing before you spend a dollar on the wrong repair.
Quick Answer
Most post-remodel defects trace to one of five root causes: work done out of sequence, a substrate or moisture problem covered up too early, a scope that was never put in writing, materials installed outside manufacturer specs, or a trade working over another trade’s unfinished surface. Fix the root cause first. Patching the visible symptom without correcting what caused it almost always means the defect returns within a year, and in Grand Prairie’s swing between humid spring and dry, hot summer, that cycle shows up fast.
Styles & brands we work with
- Kitchen remodeling
- Bathroom remodeling
- Home additions & ADU
- Roofing
- Windows & doors
- Driveway & pavers
- Fence
Table of Contents
- The Defect Map: Tracing Symptoms Back by Trade
- A Plain-Language Defect Assessment Framework
- Texas RCLA: The Notice Process Before Any Claim
- “Your Warranty Is Void”: What’s Legitimate, What’s a Dodge
- The Documentation Problem
- Why Grand Prairie Climate Exposes Bad Work
- What “Squared Away” Looks Like at Job Close
The Defect Map: Tracing Symptoms Back by Trade
When we walk into a home with a complaint list, the first job is matching each symptom to the trade that actually owns it. Homeowners usually attribute a defect to the last trade on site. That’s almost never right. Here’s how we sort the common ones by trade and root cause.
Framing
- Doors and windows that stick seasonally. Root cause is usually a header or jack stud installed out of plumb, or framing lumber installed wet and allowed to shrink after drywall went up. The door isn’t the problem; the opening is.
- Floor squeaks or deflection. Look for joist spacing that exceeds the span table, missing blocking, or subfloor glued and screwed inconsistently. Squeaks after a remodel usually mean the subfloor was re-used and not re-fastened after plumbing or electrical cuts.
- Cracks at ceiling-to-wall corners. Often truss uplift or a framing change that wasn’t tied into existing structure. Patching the drywall without addressing the movement means the crack returns each winter.
Drywall and Paint
- Peeling or blistering paint. Almost always a primer or moisture problem: joint compound dust left on the surface, a skim coat applied over a glossy existing finish without bonding primer, or drywall hung over a wet substrate. Paint quality is rarely the culprit.
- Visible tape seams or “photographing” joints. Inadequate mud coats, or a Level 4 finish specified where a Level 5 was needed under critical lighting. That’s a scope failure, not a workmanship failure.
- Nail pops. Framing lumber shrinkage plus drywall screws set too shallow or too deep. Fixing them means re-setting and re-mudding, not spackle.
Tile
- Hollow-sounding or popped tile. Usually a substrate problem: tile set over plywood without a cement backer or uncoupling membrane, or thinset that skimmed over before the tile went down. Also common over a floor that deflects more than the tile assembly allows.
- Cracked grout lines. Movement in the substrate or missing expansion joints at the perimeter.
- Efflorescence or dark grout. Moisture migrating from behind the tile, often a shower waterproofing failure rather than a grout issue.
Trim and Cabinetry
- Miter joints opening. Trim installed before the room’s humidity stabilized, or nailed without glue. In Grand Prairie, where indoor humidity can swing from 40% to 65% across a season, trim installed tight to a wet substrate will open at the miter within one cycle.
- Cabinet doors out of alignment. Usually a box installed out of level or a hinge screwed into a cabinet face that wasn’t solid. A premium line like KraftMaid or Wellborn will still misbehave if the box is shimmed wrong.
A Plain-Language Defect Assessment Framework
Not every complaint deserves the same response. Before you call anyone, sort your defect into one of three buckets. The bucket determines urgency, remedy and who you contact first.
- Cosmetic defect. Appearance only. Paint sheen mismatch, a slightly off-center outlet plate, a trim corner that isn’t perfectly tight. No function lost, no safety risk. Remedy is a punch-list correction at the contractor’s next visit. Document with photos and a short written list. No rush beyond the warranty window.
- Functional defect. The thing doesn’t work as intended. A door that won’t latch, a drawer that rubs, a shower that pools water, a light switch in the wrong place. Remedy is correction, and it should be done inside the warranty period, ideally within 30 days so the fix doesn’t get pushed to a distant “next trip.”
- Structural or habitability defect. Safety, water intrusion, or structural integrity is compromised. Cracked structural framing, a leak inside a wall, a shower that leaks into the ceiling below, a gas appliance installed without a proper vent, or a floor that visibly deflects. This bucket gets called in immediately and documented in writing the same day. Don’t wait for a scheduled visit.
We’ve found in Grand Prairie that most disputes escalate because a functional defect was treated as cosmetic for weeks, then became a habitability defect when the leak finally stained a ceiling. Sorting early saves everyone money.
Texas RCLA: The Notice Process Before Any Claim
If you’re in Grand Prairie and you’re considering a formal claim against a remodeler, the Texas Residential Construction Liability Act (RCLA) sets the process, and skipping it creates real legal trouble. The RCLA requires you to give the contractor written notice of the claimed defect and a reasonable opportunity to inspect and offer a repair before you file a lawsuit. The notice has to be specific: what the defect is, where it is, and what it would take to fix it.
What that looks like in practice:
- Written notice to the contractor. Sent by certified mail or another method that creates a record. Not a text, not a phone call.
- Reasonable inspection window. The contractor gets a real chance to look at the defect and propose a repair or settlement offer.
- Written response. A legitimately operating contractor responds in writing with either a repair plan, an offer, or a documented refusal.
- Then, and only then, escalation. If the offer is unreasonable or the contractor doesn’t respond, you have a paper trail that a court will expect to see.
Here’s what we tell our own customers: the RCLA notice isn’t an adversarial step. A serious contractor welcomes it, because a written defect report is exactly how a repair gets scheduled and documented. What it protects against is the situation where a homeowner calls a lawyer first and the contractor can honestly say they were never told about the problem. If your contract has a written warranty, the RCLA notice and the warranty claim usually happen on the same letter.
“Your Warranty Is Void”: What’s Legitimate, What’s a Dodge
Contractors sometimes tell a homeowner their warranty is void because the homeowner (or another contractor) worked on the same area afterward. Some of those claims are legitimate. Many are clauses written to dodge responsibility.
Legitimate voiding. A warranty can fairly be limited when the homeowner or a third party has altered, damaged, or improperly repaired the warranted work. Example: the original contractor built a shower to spec, and six months later the homeowner hired someone else to re-tile the curb. If it leaks now, the original contractor can reasonably argue the alteration broke the waterproofing envelope.
Dodge clauses to read carefully. Any clause that voids the warranty for “modifications” without defining the word. Any clause that voids the warranty if the homeowner touches paint, caulk, or trim on top of warranted work. Any clause that voids the warranty if the homeowner has any other contractor in the house, period. Those are written to move the burden onto the homeowner regardless of cause.
What a fair written warranty looks like: it states what’s covered, for how long, what voids it, and how to make a claim. Our 365-Day Done Right Promise is written that way. Every completed project carries a full-year written guarantee. If the work fails inside that window, we come back and correct it at no charge. It’s specific, it’s dated, and it doesn’t hinge on vague definitions. If your contractor’s warranty language is fuzzier than that, ask them to put the specific terms in writing before you sign.
The Documentation Problem
Homeowners who can’t produce written scope, photos of the rough-in, and signed change orders have a much harder time making defect claims stick. That’s not a legal technicality. It’s the difference between “the shower leaks” and “the shower curb was built without a pre-slope, documented here in this photo dated March 3.”
What to have on file from day one:
- Written scope, itemized. Not “bathroom remodel” but “shower pan, tile to 8 ft, niche on rear wall, Moen valve model X.”
- Photos of the rough-in. Framing, plumbing, electrical, insulation, and waterproofing before drywall goes on. This is the single most useful documentation you can have.
- Signed change orders. Every change, in writing, with a price, before work proceeds. Not after.
- Material names and model numbers. A premium brand installed off-spec still fails. If the spec is documented, you can trace the failure to either the manufacturer or the installer.
- Final walkthrough checklist, signed by both sides. This is the punch list that protects you when a “small issue” becomes a “big issue” 90 days later.
We work from a documented roster of premium brands, including KraftMaid and Wellborn cabinetry, Cambria and Caesarstone surfaces, Kohler and Moen fixtures, GAF and James Hardie exterior products, and Therma-Tru doors. That roster exists partly because specifications are traceable. When a defect happens, we know exactly what was specified, so we can diagnose against the manufacturer’s install requirements instead of guessing.
Why Grand Prairie Climate Exposes Bad Work
Grand Prairie sits in a climate that punishes shortcuts. Spring humidity rolls in, summer dries it out hard, and the swing between wet and dry cycles every year acts like a stress test on materials and installation. Several defects that would stay latent in a stable climate become visible here within 12 months.
- Trim moves. Wood trim installed without acclimation, or miters assembled without glue, opens within one seasonal cycle.
- Paint failure surfaces. Exterior paint over improper prep blisters quickly with the sun load we get in Grand Prairie from May through September.
- Caulk lines fail. Cheap caulk applied to a wet or dusty joint splits within months here. That’s a “the tile is falling apart” complaint that’s actually a caulk issue.
- Subfloor gaps and cracks. Flooring installed without sufficient acclimation cups or gaps in a dry season, then swells in spring.
The fix on the front end is boring and effective: acclimation time, proper primers, correct sequencing so wet trades finish before drywall closes, and written specs that spell out materials and installation requirements. On the back end, it means diagnosing the defect in the season it shows up.
What “Squared Away” Looks Like at Job Close
The best defense against every defect in this guide is a job closed properly. Here’s the checklist we run at the end of every Grand Prairie project, and the one to demand of any contractor you hire.
- Clean site. Debris hauled, dust wiped, floors protected during work and clean at close.
- Documented scope cross-check. Walkthrough compares finished work to the written scope, item by item.
- Punch list signed off. Both sides sign the same list. Photos of every item attached.
- Written guarantee in the homeowner’s hand. Not emailed later, not promised verbally. A physical or clearly attached written document stating what’s covered and for how long.
- Warranty registration and manufacturer documentation. Every premium component (cabinet line, doors, windows, exterior materials) comes with its own manufacturer warranty. That documentation goes to the homeowner, not the filing cabinet.
- Final invoice reconciled to the written price. No surprises at the close. If the price you signed is the price you pay, nothing has to be argued about.
That close-out discipline is the framework behind every project we run. It’s how you avoid having to troubleshoot at all. If you want to price a remodel in Grand Prairie or plan next steps, our team at Bradford Remodeling Co Grand Prairie takes the call.
Common Mistakes to Avoid
- Filing a complaint before you write the notice. A phone call is not an RCLA notice. Write it down, send it tracked, then follow up.
- Accepting a “we’ll fix it next time we’re in the area” promise. If it isn’t scheduled, it isn’t a plan. Get the date in writing.
- Repainting over a defect before you know the cause. Paint hides for six to twelve months and then traces the whole problem back to the surface. In Grand Prairie’s spring humidity swing, it may peel in half that time.
- Not photographing the rough-in. The single easiest thing to do and the single most important documentation you’ll ever own. If your contractor doesn’t volunteer photos of the framing, waterproofing, and mechanicals before close, ask.
- Signing a change order after the work started. A change order signed after the fact is a negotiation you already lost. It should be signed before the change.
- Hiring by low bid without written scope. Cheap bids on vague scope are how surprise invoices get born. A written price before work starts is the only bid you can compare against another.
- Assuming a warranty clause is enforceable just because it’s in the contract. Read the warranty terms the same way you read the price. If the void language is vague, ask the contractor to rewrite it before signing.
See the difference
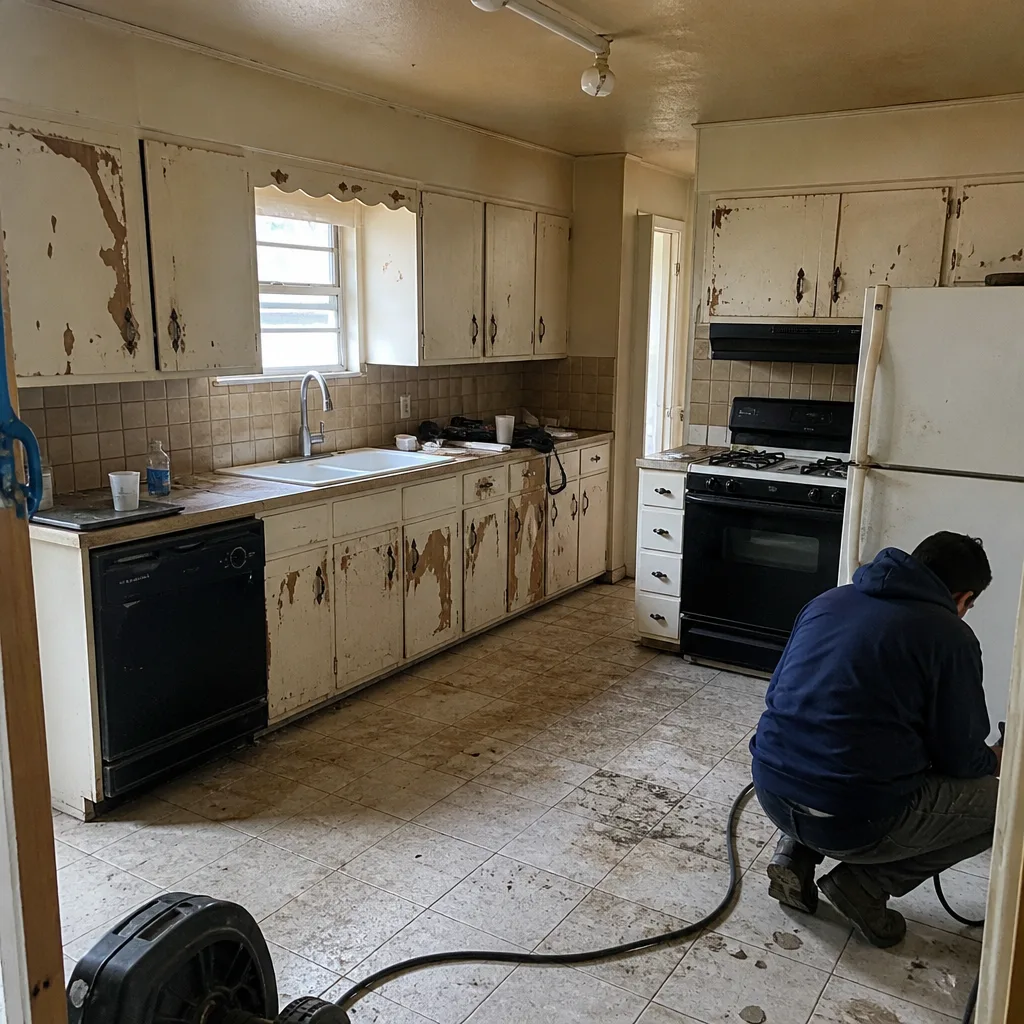 Before
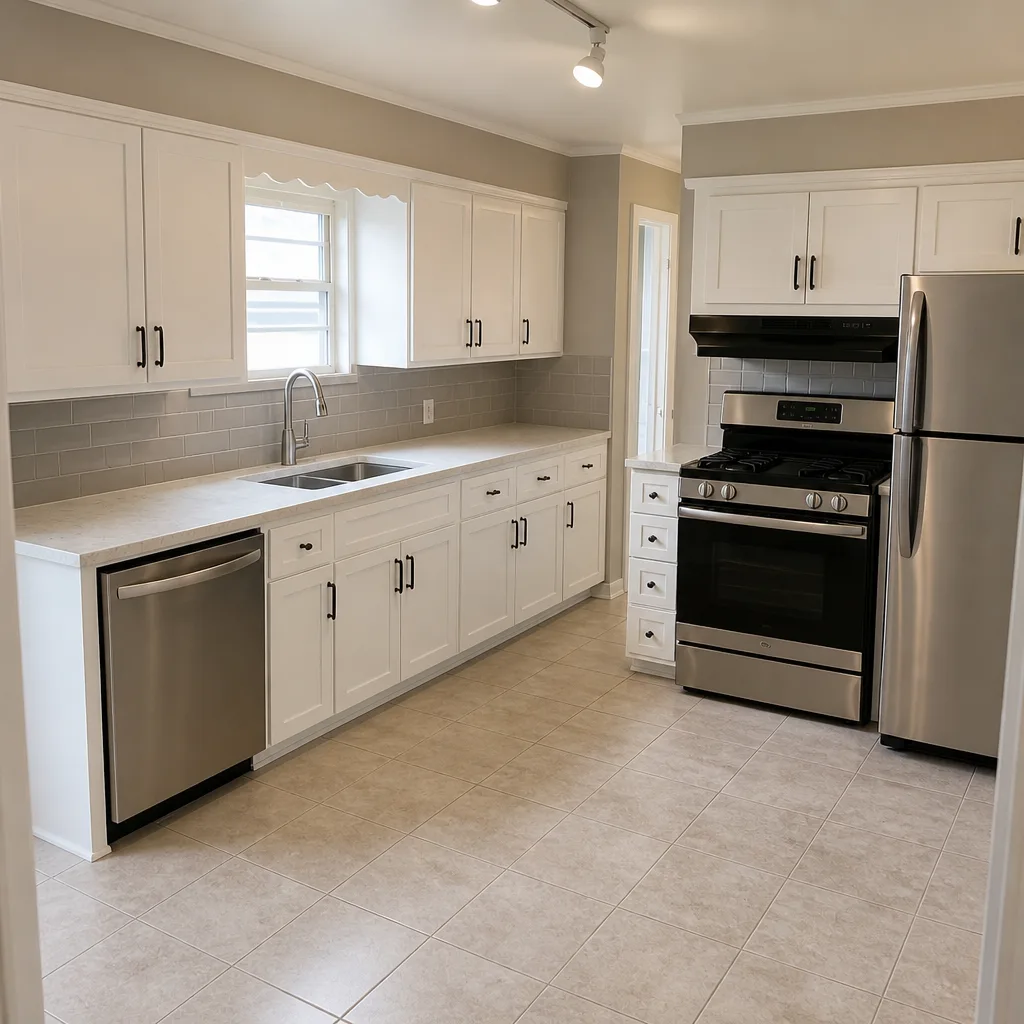 After
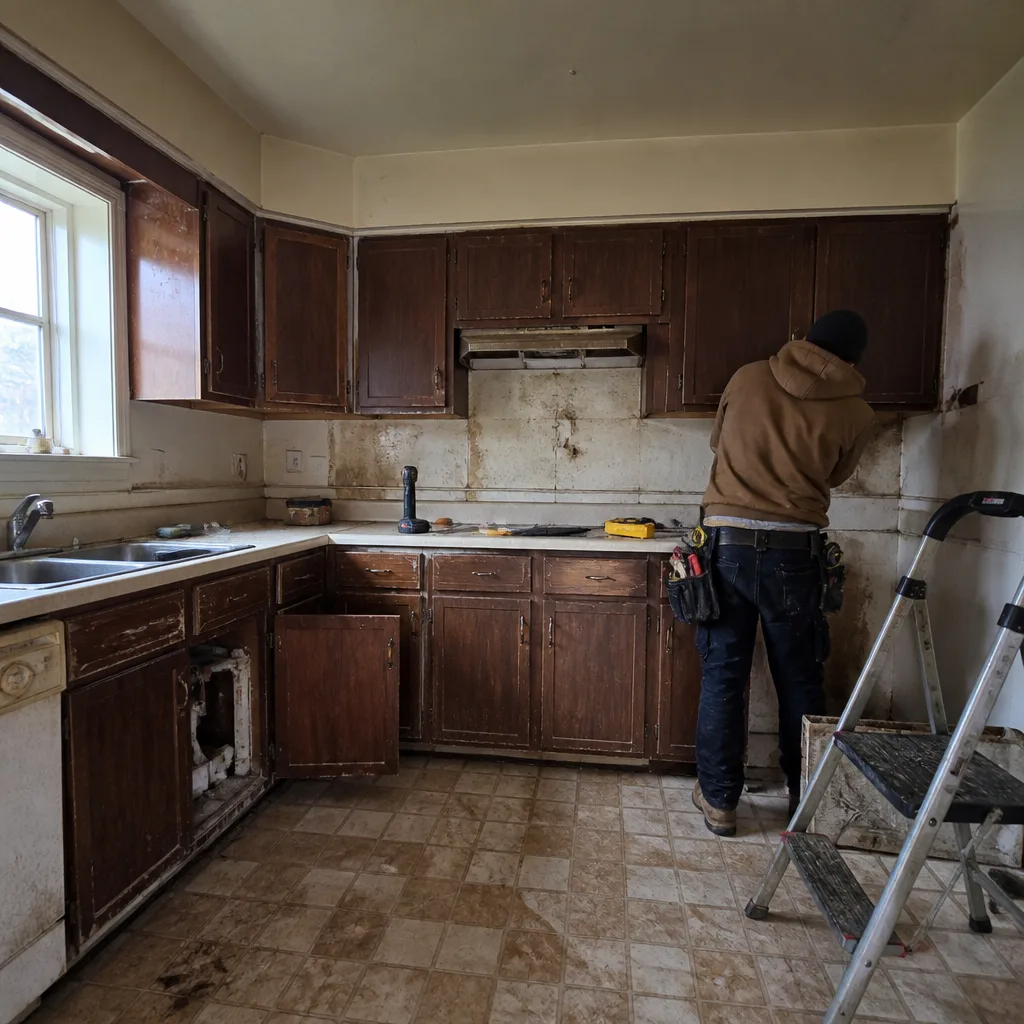 Before
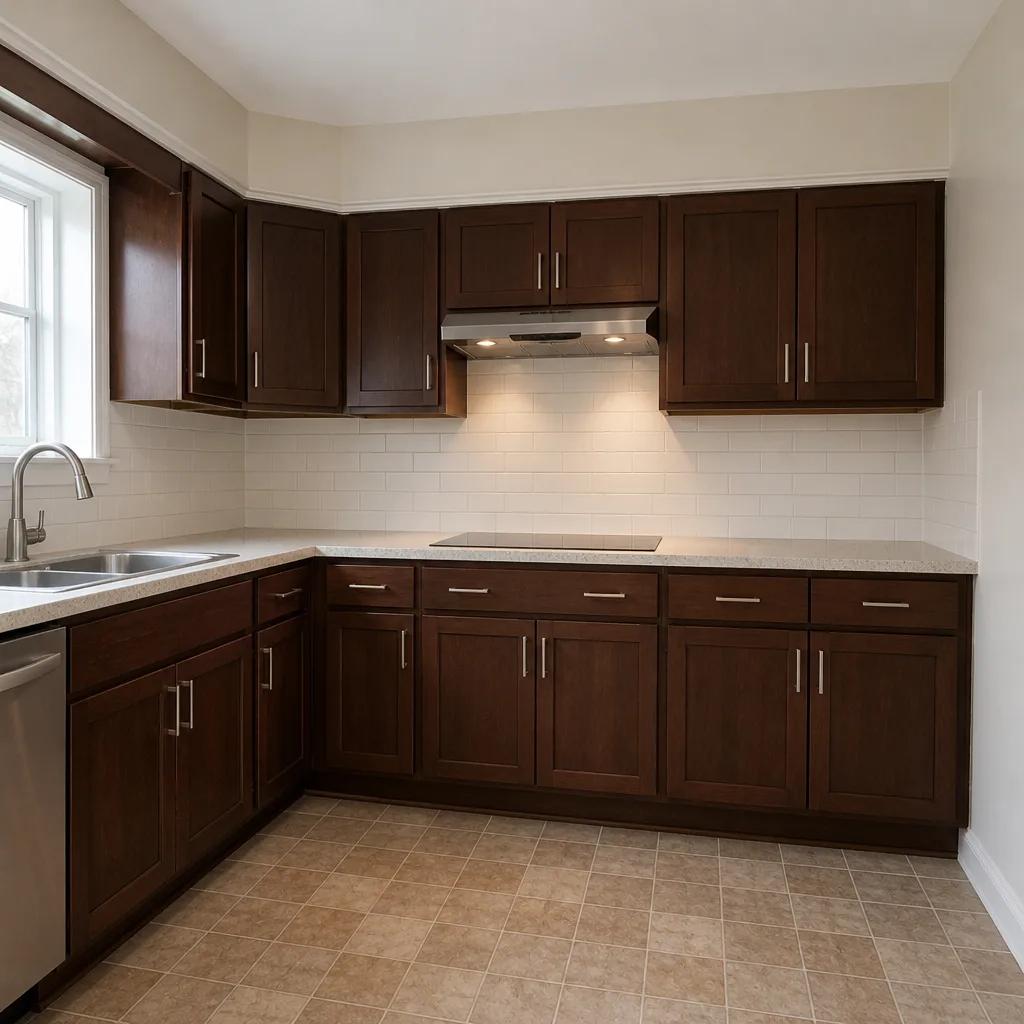 After
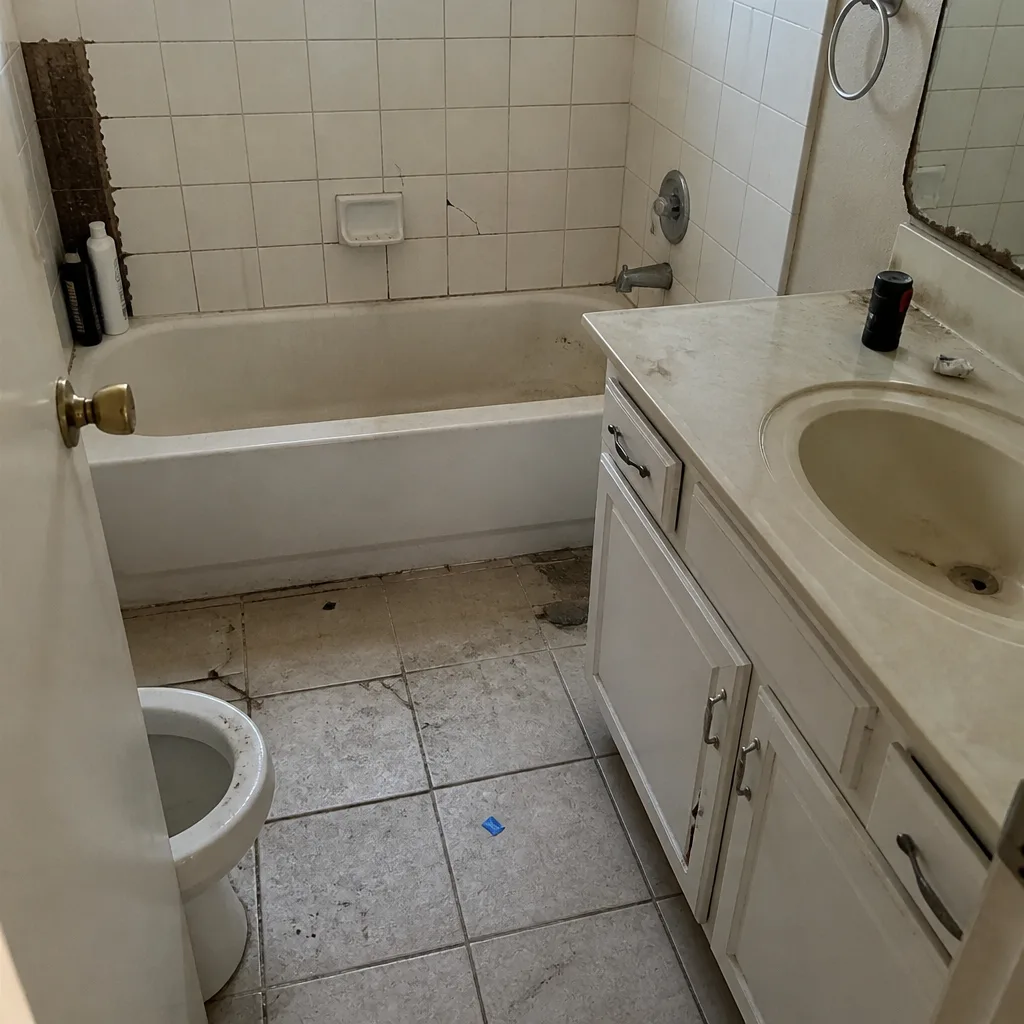 Before
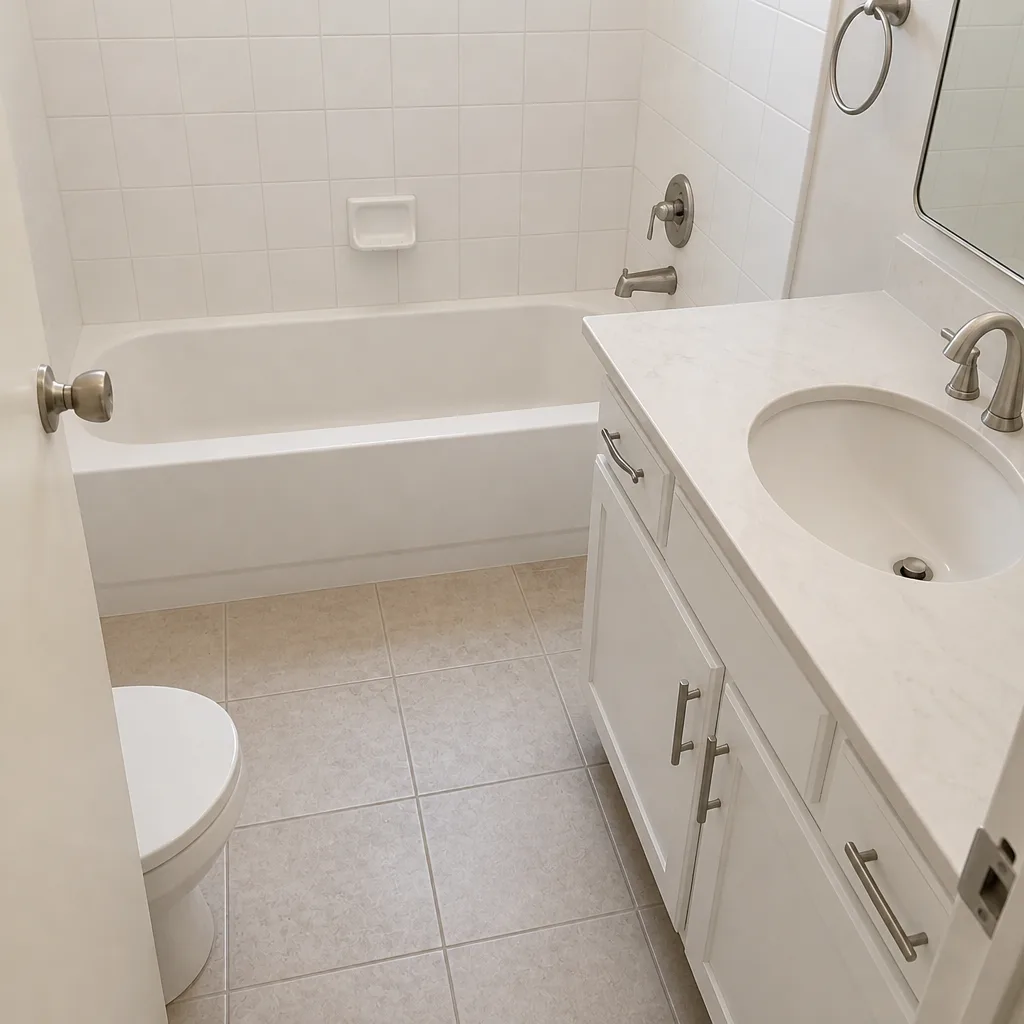 After
When to Call a Professional
Call a professional remodeler when your defect falls into the structural or habitability bucket: a leak inside a wall, a floor that deflects, a shower that fails at the waterproofing, a cabinet or door assembly that’s failed at the framing level, or any defect involving gas appliances. Also call when the original contractor has gone silent, when your documentation is thin, or when the warranty language you signed leaves the remedy unclear. Trying to fix these yourself usually costs more than the original repair, and it can void whatever warranty protection you still have. Bradford Remodeling Co Grand Prairie offers free estimates in Grand Prairie and the surrounding area. Every project we work comes with a written price before work starts, and every completed job carries the 365-Day Done Right Promise. Call (888) 255-7593 and a live person answers, day or night.
Frequently Asked Questions

A cosmetic defect affects appearance only, with no loss of function or safety. A structural or habitability defect affects how the home holds up, how it keeps out water, or how it keeps occupants safe. If you’re unsure, treat it as structural until a pro tells you otherwise, and get the assessment in writing. Call (888) 255-7593 for a free evaluation.
Yes. The Texas Residential Construction Liability Act requires written notice of the claimed defect and a reasonable opportunity for the contractor to inspect and respond before you file. Skipping this step creates legal problems for a homeowner’s claim. Send it by certified mail and keep the receipt.
Peeling paint on a recently remodeled wall almost always traces to a drywall finishing or primer failure, not the paint itself. Common causes: joint compound dust not wiped before priming, primer skipped over a glossy surface, or paint applied over a wet substrate. The fix is surface prep and repaint, done correctly. Call (888) 255-7593 for a free estimate on correcting the finish.
Only if the work you (or another contractor) did directly caused the defect in the warranted work. A blanket clause voiding the warranty for any other work in the house is usually written to dodge responsibility. If your warranty contract is vague on this point, ask the contractor to state the specific terms in writing before you sign.
Warranty length varies. Our 365-Day Done Right Promise gives a full written year on completed work; if the work fails inside that window, we return and correct it at no charge. Ask any contractor what’s covered, for how long, and what voids it, and get the answer in writing. Call (888) 255-7593 to review our warranty terms on a free estimate.
Photograph every stage before it gets covered: framing, plumbing rough-in, electrical rough-in, insulation, waterproofing, and subfloor work. Then photograph finished surfaces at final walkthrough. Those photos are the difference between a defect claim that sticks and one that doesn’t.
The Bottom Line
Most post-remodel defects are not material failures. They’re process failures that surfaced as a visible symptom, and if you don’t fix the process, the symptom returns. Sort the defect early into cosmetic, functional, or structural. Get it documented in writing. Send a proper RCLA notice before any claim. Read your warranty language as carefully as your price. And check the close-out: written scope, signed punch list, and a written guarantee in your hand, not promised by phone. If you’d rather start from documentation than from damage, our team at General Contractor in Grand Prairie can help. Call (888) 255-7593 for a free estimate.
Written by the team at Bradford Remodeling Co Grand Prairie.