Last updated November 18, 2026







Free written scope consultation - allowances, timeline, and change-order rules on paper before a single trade is scheduled
Bathroom Remodeling Maintenance Schedule: What to Do and When
Silicone caulk at a tub surround has a service life of 5 to 7 years under normal use. Most homeowners don’t touch it until it has already failed, and by then water has been migrating behind the tile for months. That gap between “the caulk is fine” and “the caulk is gone” is where $8,000 bathroom tearouts begin. We’ve watched it happen across Grand Prairie more times than we’d like. This guide gives you the maintenance clock a remodeled bathroom runs on from day one, laid out in plain trade terms: what to check, when to check it, and the two or three tasks that actually decide whether your tile, grout and fixtures make it a decade or don’t.
Quick Answer
Inspect caulk joints and grout every six months, reseal grout annually if it’s sanded cement-based and every two years if it’s epoxy, clean the exhaust fan every six months, and check the showerhead and door gaskets monthly. The bathroom system that gets checked twice a year – spring and fall – is the one that lasts fifteen years instead of five. Everything below is just the detail behind that routine.
Styles & brands we work with
- Kitchen remodeling
- Bathroom remodeling
- Home additions & ADU
- Roofing
- Windows & doors
- Driveway & pavers
- Fence
Table of Contents
- The Six-Month Bathroom Maintenance Calendar
- Annual Tasks Most Homeowners Skip
- Sanded vs. Unsanded Grout: Which Do You Have, and How Do You Seal It?
- Shower Door Tracks and Gaskets: Cleaning Without Degrading the Seal
- Exhaust Fan Maintenance and Why It Protects Your Whole Remodel
- The Water Heater Connection Every Bathroom Guide Forgets
- The Twice-Yearly Inspection Checklist
- Grand Prairie Climate, Water and Code Notes
The Six-Month Bathroom Maintenance Calendar
A remodeled bathroom doesn’t need weekly fussing. It needs six tasks done twice a year, once in spring and once in fall, laid out exactly like this:
- Caulk inspection. Squeeze every caulk bead with a dry fingertip and look for gaps, curling edges, or discoloration. Any bead that pulls away from tile or tub gets cut out and replaced – not patched.
- Grout inspection. Run a fingernail across the grout lines in the shower floor and lower walls. If it crumbles, cracks, or feels soft, the waterproofing is exposed and needs addressing now.
- Exhaust fan cleaning. Kill the power at the breaker, drop the grille, and vacuum the blades and inside the housing. A fan that’s lost half its airflow is quietly feeding mold behind the drywall.
- Showerhead flow check. Remove the head, soak it in a 50/50 white vinegar and water bath for two hours, and scrub the mineral scale off the face. Grand Prairie’s water leaves scale quickly and a clogged head backs pressure into the valve.
- Shower door track and gasket. Wipe the track with diluted white vinegar – not bleach, not a citrus degreaser – and check the rubber sweeps for stiffness or cracks.
- Drain and trap check. Fill the sink and tub, then let them drain. A slow drain now is a clogged trap line in three months.
That’s it. Two hours, twice a year, done with a screwdriver, a flashlight, and a $6 tube of silicone. Homeowners in Grand Prairie who keep this routine going are the ones calling us for custom work instead of emergency corrections. If you’re considering a full renovation and want to plan maintenance from day one, our Bathroom Remodeling in Grand Prairie page covers how we build waterproofing into the scope.
Annual Tasks Most Homeowners Skip
These are the jobs that show up on a maintenance calendar but almost nobody does them. Each one costs less than $40 and takes under an hour. Each one prevents a five-figure repair.
- Grout sealing. On cement-based grout, seal once a year. On epoxy grout, once every two years is enough. Wipe the surface dry, apply impregnating sealer with a foam brush, let it sit 10 minutes, buff off the excess. Wipe the surface dry first – sealer applied over a wet floor traps moisture.
- Toilet tank inspection. Remove the lid and look at the flapper, fill valve, and supply line. A flapper with a rough edge or a fill valve with mineral crust is silently wasting 200 gallons a day. Replace both if either shows wear.
- Valve and shutoff exercise. Every shutoff valve in the bathroom (under the sink, behind the toilet, on the shower valve) should be turned fully off and back open once a year. A seized shutoff valve discovered mid-leak is a flood.
- Tile and grout cleaning with the right chemistry. Neutral pH tile cleaner only. Acid-based descalers eat cement grout and the thin glaze on ceramic tile. Even at annual intervals, the wrong cleaner shortens grout life by years.
- Mirror and fixture sealant. Metallic fixtures (the shower trim, towel bars, faucet bases) get a thin coat of non-acidic metal polish once a year. In Grand Prairie’s humidity swings, unprotected chrome pits within five years.
Every one of these tasks takes less time than scrubbing a shower. The point isn’t perfection – it’s catching failures while they’re still $50 problems.
Sanded vs. Unsanded Grout: Which Do You Have, and How Do You Seal It?
Most homeowners don’t know which grout they have, and it matters because the wrong sealer fails faster than no sealer at all. Here’s how to tell.
Run a fingernail along a grout line in a dry area. Sanded grout – which most bathroom floors use because the joints are 1/8 inch or wider – feels gritty and rough to the touch. Hold a flashlight to the surface at a low angle; you’ll see fine grains of sand catching the light. Unsanded grout – typical on wall tile with narrow joints – feels smooth and chalky. If you rub a finger across clean unsanded grout, you’ll pick up a faint white residue.
Sealing requirements differ:
- Sanded grout: seal annually. The wider joints and rougher surface draw moisture in. Impregnating sealer is the correct product – it penetrates and repels liquid without leaving a film.
- Unsanded grout: seal every two years. Denser material resists water better. Skip the sealer if you’re not sure it needs it – over-sealing traps moisture. Test by dripping water on a joint: if it beads, the sealer’s still working; if it darkens, reapply.
- Epoxy grout: no sealer required. It’s waterproof from day one. If your contractor used epoxy grout, you don’t need to seal at all – but you do need to retest once a year because epoxy grout still fails at movement points.
We’ve pulled up plenty of Grand Prairie shower floors where the wrong sealer, or none at all, let water soak the substrate for years. The tile looked fine. The framing behind it didn’t. When we plan a Kitchen Remodeling in Grand Prairie project, we apply the same logic to backsplash grout – match the sealer to the material, not to what’s on the shelf.
Shower Door Tracks and Gaskets: Cleaning Without Degrading the Seal
Shower door gaskets are rubber or silicone sweeps, and they hate three things: bleach, citrus cleaners, and stiff brushes. Bleach hardens the rubber polymer. Citrus degreasers attack the plasticizers. Stiff brushes abrade the sealing edge. Use any of them long enough and your gasket develops micro-cracks that channel water onto the floor every time you shower.
The right method:
- Mix one part white vinegar to three parts water in a spray bottle. Diluted vinegar loosens soap scum and mineral scale without eating the rubber.
- Spray the track and let it sit for five minutes. Don’t scrub in a hurry.
- Wipe with a soft microfiber cloth pressed into the track corners. No steel wool, no abrasive pad.
- Wipe the gasket itself with the same cloth, top to bottom, front to back.
- Dry the track with a paper towel. Standing water is the actual enemy – it feeds mold on the gasket underside.
Inspect the gasket quarterly for stiffness, cracks, or a permanent curl. Replace it every three to five years. A shower sweep costs under $25 and takes ten minutes to install – cheap insurance against damaged flooring from a failed seal. Shower doors with frameless glass need this more often than framed doors because there’s nowhere for water to hide except on the floor.
When we install a shower in Grand Prairie, we spec the gasket material – usually silicone rather than rubber – so it survives the humidity cycle. Waterproofing detail matters as much as the tile on top. Our General Contractor in Grand Prairie page explains how we document that scope before a single tile is set.
Exhaust Fan Maintenance and Why It Protects Your Whole Remodel
Most bathroom maintenance guides treat the exhaust fan as an afterthought. It’s not. It’s the one piece of mechanical equipment in the room that determines whether the rest of the remodel survives.
A properly sized fan moves about 1 CFM (cubic foot per minute) per square foot of bathroom. A 5×8 bathroom (40 square feet) needs at least a 40 CFM fan, and realistically 50 to 80 CFM to clear steam quickly. When the fan loses half its airflow to dust and lint on the blades, it can’t keep up. Moisture that should have vented to the exterior instead condenses on the ceiling, runs down the tile, and settles into grout lines and behind the substrate.
We’ve seen this show up as mold at the ceiling line first, then as grout failure at the top of the shower wall. In Grand Prairie’s humid summers, a fan running at half capacity means mold appears roughly twice as fast as it would with proper ventilation.
Cleaning it takes ten minutes:
- Turn off the fan at the breaker.
- Pop off the grille (most clip on; a few have screws).
- Vacuum the blades and inside the housing with a soft brush attachment.
- Wash the grille in the sink with dish soap, dry it, and snap it back on.
- Restore power and listen for rattling or grinding – any noise means the motor’s bearings are going.
If the fan motor is older than ten years, replace the whole unit. Newer fans with DC motors are quieter, move more air, and cost under $200.
The Water Heater Connection Every Bathroom Guide Forgets
The temperature and pressure relief valve (T&P valve) on your water heater is directly tied to fixture longevity in the bathroom. When it fails closed, the tank over-pressurizes. When it fails stuck-open, your shower runs permanently lukewarm and your fixtures run through the consequences: mineral damage, premature cartridge failure, and higher bills.
The T&P valve needs testing once a year. This is not a DIY job for the uninitiated – the valve is under pressure and a failed T&P valve can scald or damage the tank. We recommend a professional inspection of the T&P valve and the water heater’s anode rod annually. If you don’t have a service tech handy, at least do these safe checks:
- Look for water spots, corrosion, or mineral crust around the T&P valve outlet. Any of these means the valve is weeping and needs replacement.
- Confirm the T&P valve discharge pipe runs down to within six inches of the floor. If it terminates high, that’s a safety code issue.
- Set the water heater to 120°F. Above that, you’re spending money on energy and accelerating fixture wear.
Why does this matter for hardwood floors, tile, and grout? Water over 140°F cooks through ceramic tile adhesive faster, degrades shower valve cartridges and O-rings faster, and pushes the toilet flapper to fail sooner. In Grand Prairie, hard water plus high heat is a fixture-killing combination that most maintenance schedules ignore. If you want a plumber to inspect it as part of a broader renovation, we can coordinate it during a Bradford Remodeling Co Grand Prairie home walkthrough.
The Twice-Yearly Inspection Checklist
Print this and stick it inside the bathroom door. Every task should take under fifteen minutes on a Saturday, and if anything from the “call a pro” column shows up, address it that week.
Look at:
- Every caulk joint in the shower, tub surround, sink backsplash and toilet base
- Grout lines – crumbly, cracked, dark, or soft spots
- The ceiling above the shower – any discoloration, peeling paint, or mold spots
- The floor around the base of the toilet – any water stain, soft drywall at the ceiling below, or dark grout
- Under the sink – any water ring, rust, or staining on the cabinet floor
- The base of the shower walls and behind the door frame – paint blisters or soft spots
Test:
- Turn the shower on for 30 seconds and watch the door track and gasket for leaks
- Run the exhaust fan and hold a piece of toilet paper near the grille – a strong pull means good airflow
- Turn the T&P valve visually or log the last inspection date
- Flush the toilet with the lid on and listen for a running refill that won’t stop
Call a pro if you see:
- Grout continuously failing within months of resealing
- Caulk pulling away from tile the day after replacement
- Soft spots or bubbling on the wall or ceiling behind the tile
- Water stains under the sink, behind the toilet, or at the ceiling below
- Any sign of mold inside the shower wall cavity – visible from the drywall side or the closet side
That last column matters because all five of those point to a waterproofing failure that’s been silent for six to twelve months. Grand Prairie’s slab construction and tight tile work often show failures from the ceiling below first, which is why we recommend these checks in the base floor bathroom before the upstairs bath. A small membrane repair is a $300 to $900 job. A shower demo is $6,000 and up.
Grand Prairie Climate, Water and Code Notes
Grand Prairie sits on the line between clay-heavy soils and shifting moisture. That matters for a bathroom in two specific ways:
- Foundation movement. Clay soils expand and contract with the seasons, and bathrooms with heavy tile on a slab are often the first place a tile crack appears. Grout cracks that appear in the same line year after year usually mean movement, not failed sealer. Cosmetic fix won’t hold; that joint needs a flexible sealant, not grout.
- Water chemistry. Grand Prairie’s water comes in hard, typically 9 to 12 grains per gallon depending on the source. That’s scaling range. Showerheads, faucets and the inside of the shower valve cartridge will build mineral deposits faster than in most other Texas cities. Expect to descale the showerhead every three months rather than six, and expect shower cartridges to wear out in five to seven years rather than eight to ten.
On the code side, any bathroom remodel that changes the plumbing rough-in requires a plumbing permit in Grand Prairie, and any electrical change including fan replacement requires a permit through the city. If you’re planning a renovation and you’re hearing “we don’t need a permit for that,” that’s a flag. We pull permits and pass inspections – it’s part of the scope, not an add-on.
One more local note: exhaust fans in Grand Prairie homes should vent to the exterior, not into the attic. We’ve opened attics in Grand Prairie and found fans ducted straight into the insulation. That dumps moisture into a sealed cavity all summer.
Common Mistakes to Avoid
- Recaulking over old caulk. New caulk applied over failed caulk lifts off within months – the old bead is a release surface. Cut the old bead out fully with a utility knife, clean with denatured alcohol, and apply to bare substrate.
- Using bleach on shower door gaskets. Bleach hardens the rubber and the sweep cracks within a season. Diluted vinegar does the same job without the damage.
- Sealing wet grout. Sealer applied to damp grout blocks the surface but traps moisture in the joint, which means mold feeds underneath. Wait 48 to 72 hours after any cleaning before sealing – ask any Grand Prairie tile setter about how often someone seals a freshly mopped floor.
- Skipping the exhaust fan. A dirty fan is the single most common cause of mold we see on the ceiling line in Grand Prairie bathrooms. Ten minutes twice a year prevents thousands in drywall and paint corrections.
- Ignoring a slow drain. It’s a trap-clog now; it’s a $400 plumber visit and water-damaged flooring if ignored. Fix it in the same week it shows up.
- Replacing the showerhead without checking the flow rate. A high-flow showerhead installed on a valve sized for low-flow puts pressure on the cartridge and shortens its life. Stick to 2.5 gallons per minute or less.
- Skipping the water heater T&P. It’s the single most-skipped annual check on the list, and it’s the one that decides whether your fixture seals and cartridges survive a decade or fail at year five.
See the difference
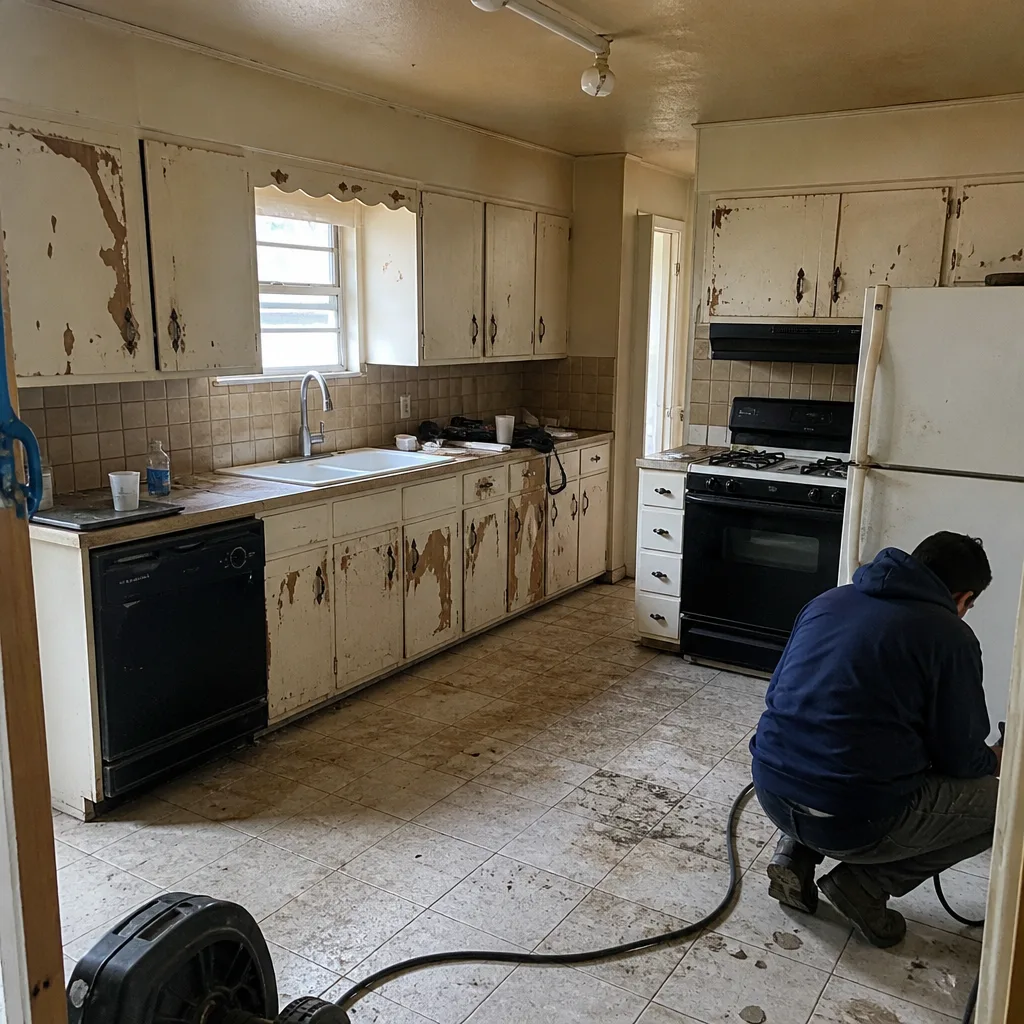 Before
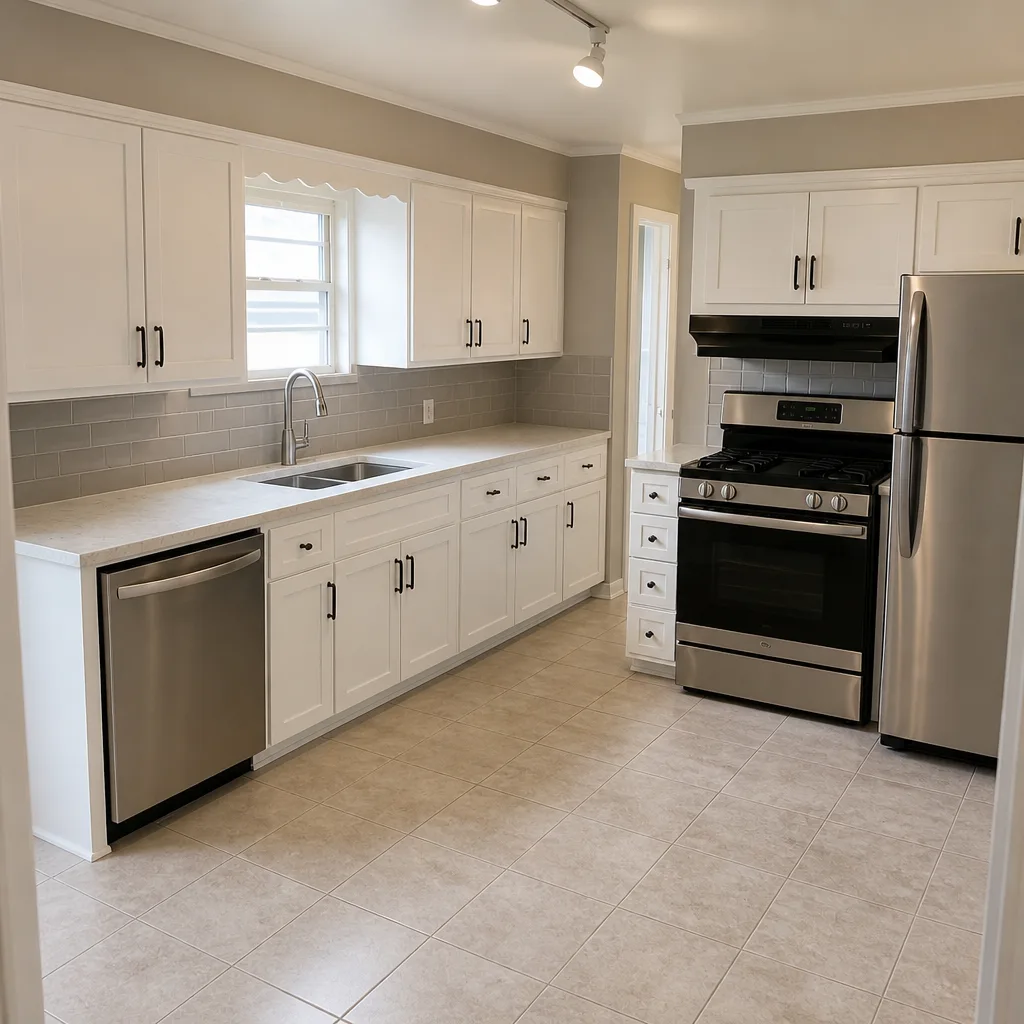 After
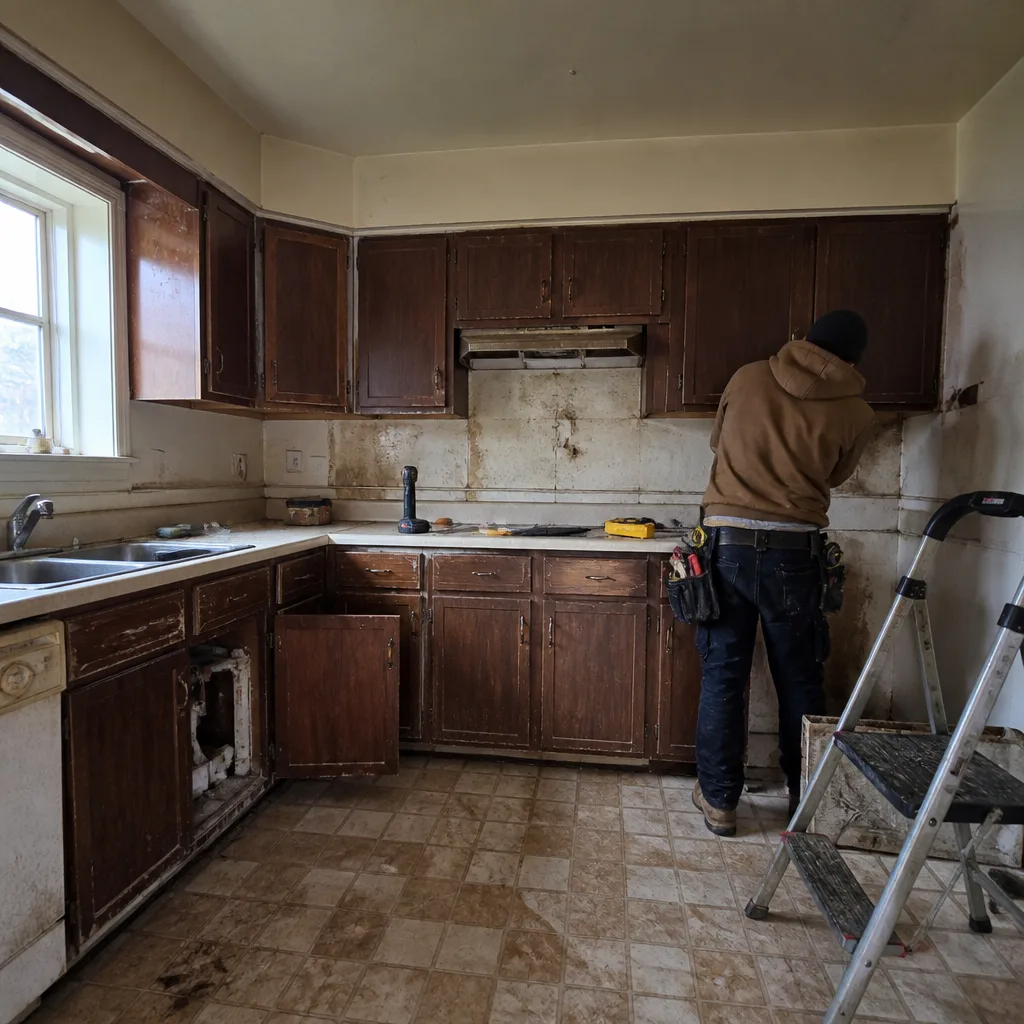 Before
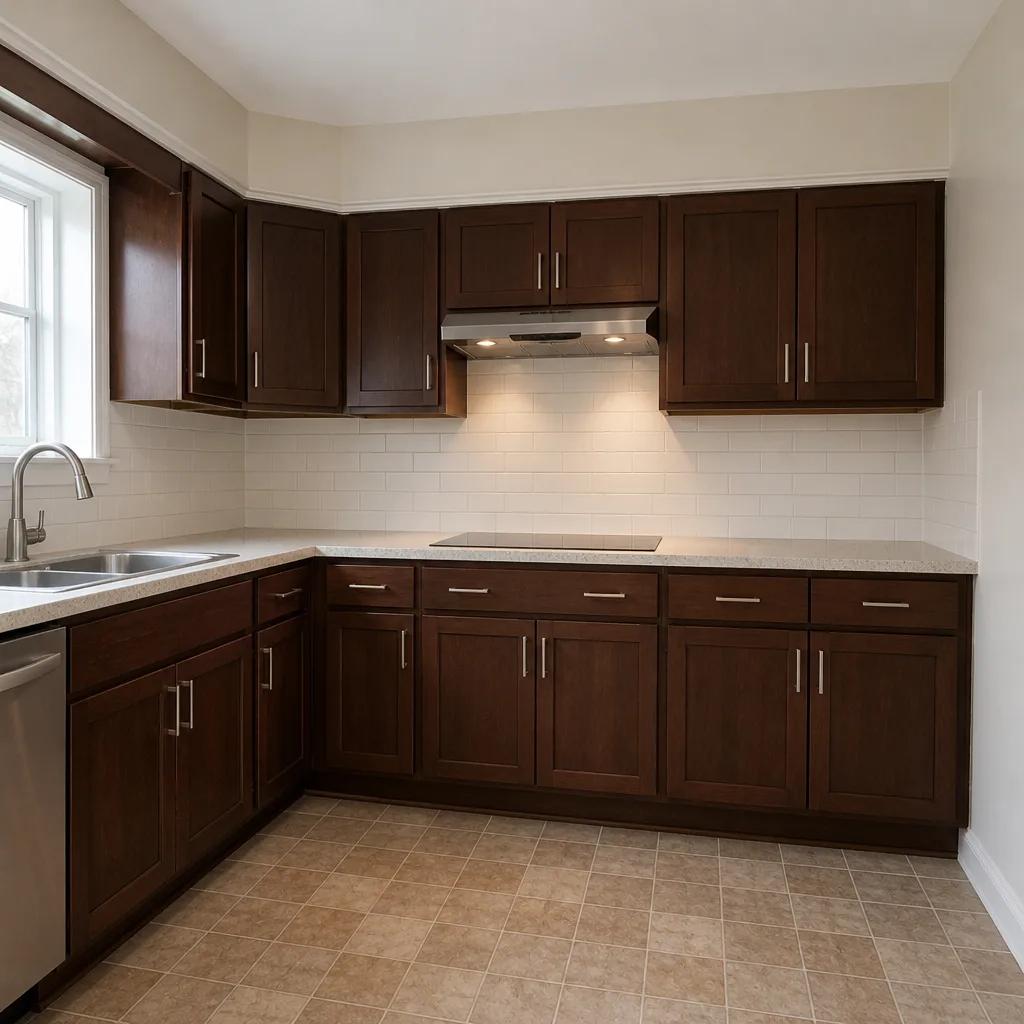 After
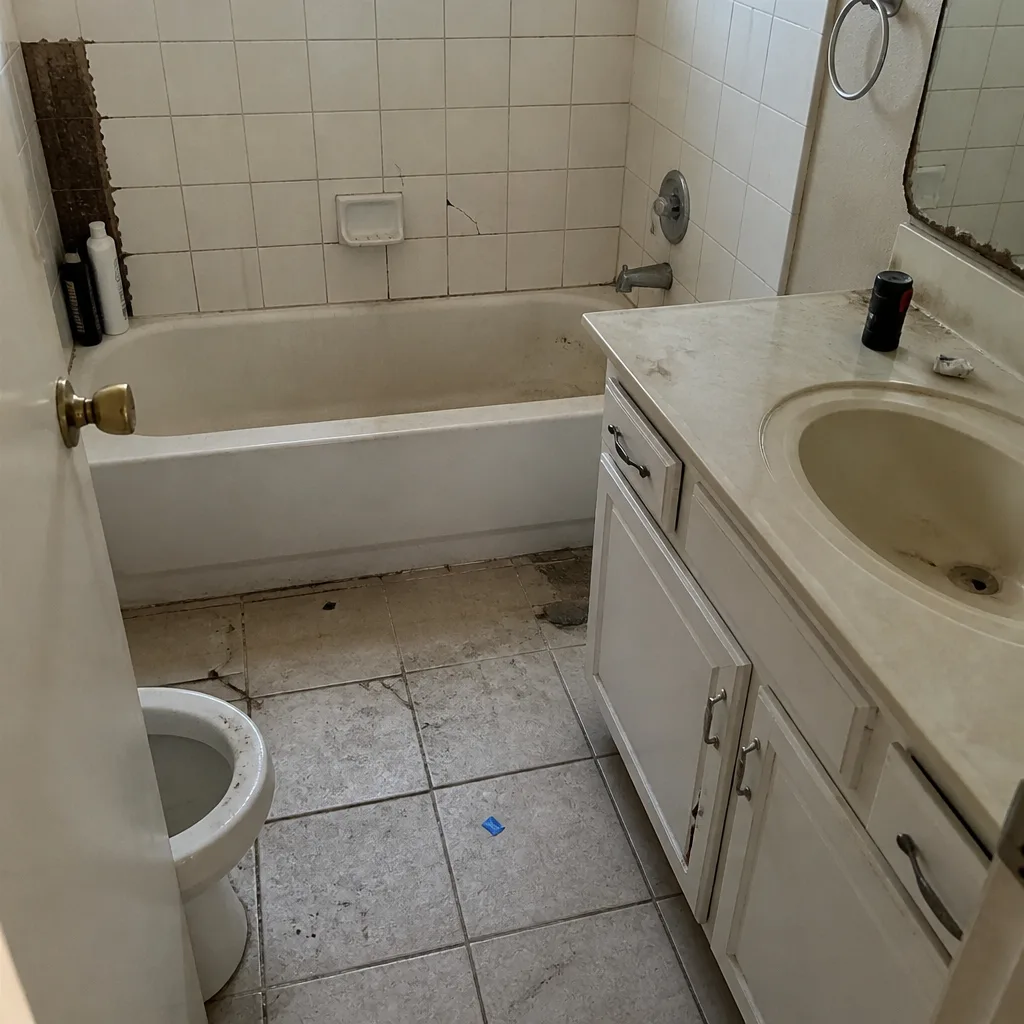 Before
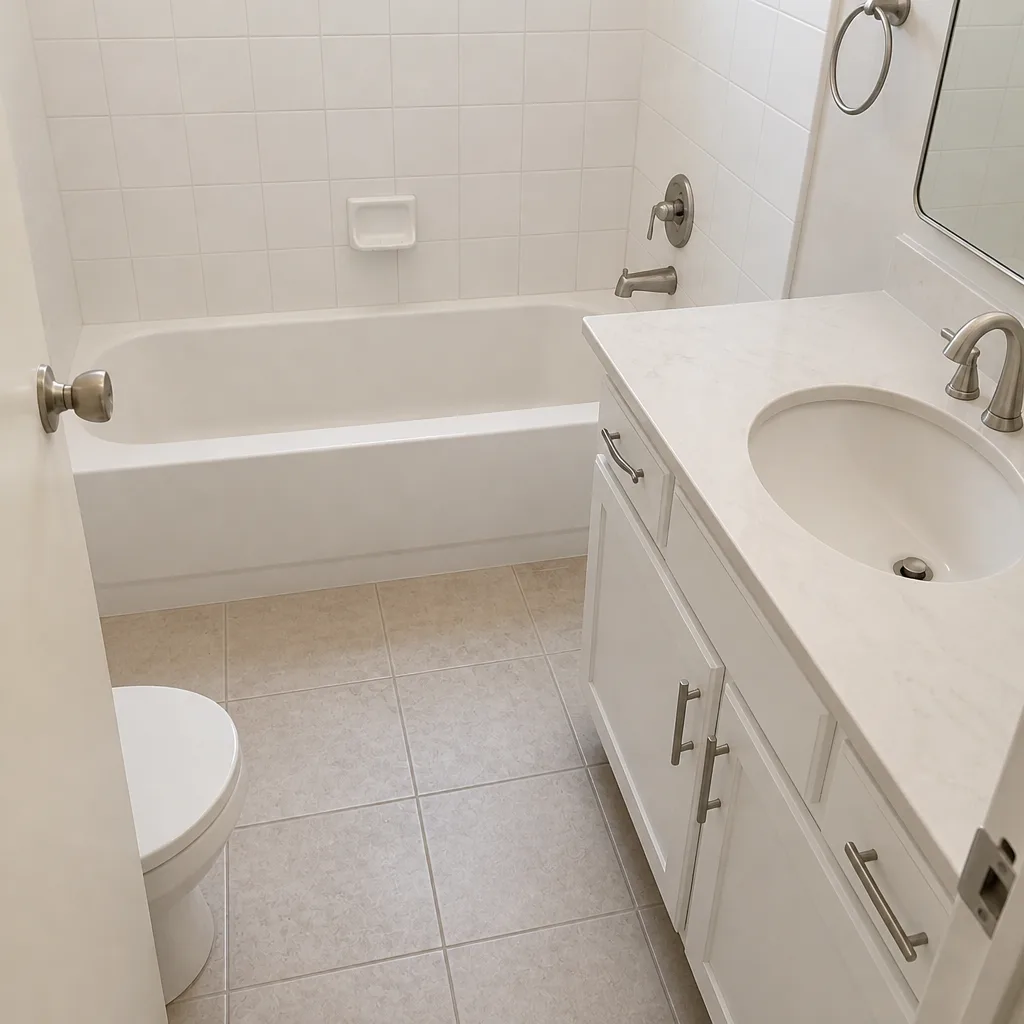 After
When to Call a Professional
Some of this is homeowner work. Some of it isn’t. Call a professional when you see any of the following: reoccurring grout cracks in the same line within a year of resealing, soft spots or staining on the wall or ceiling behind the tile, water damage below the shower on the ceiling of the floor below, or caulk that fails within weeks of a proper replacement. Those signs mean water has been behind the tile for months, and the fix is a membrane and substrate repair, not more caulk. Also call if the shower drain itself is slow after all the drain cleaning you can do – that’s a trap or slope problem, not a surface issue. Bradford Remodeling Co Grand Prairie offers free estimates in Grand Prairie for any bathroom maintenance or repair work that crosses into demolition. Call (888) 255-7593 for a written, line-item scope before any work starts. Every price is upfront, and every job carries the 365-Day Done Right Promise.
Frequently Asked Questions
Seal sanded cement-based grout once a year and unsanded grout every two years. Epoxy grout doesn’t require sealing at all – but retest the joints once a year by dripping water on them; if it darkens, the sealer’s gone. Call (888) 255-7593 for a free estimate if you’re seeing consistent grout failure.
Rub a fingernail across a clean grout line. Sanded grout feels gritty and you can see fine sand grains under a flashlight at a low angle. Unsanded grout feels smooth and chalky, and a finger rub leaves a white residue. If you can’t tell, take a photo of a dry joint and a tile sample to a tile supplier – they’ll identify it in a minute.
Replace shower door gaskets every three to five years, or sooner if you see stiffness, cracking, or a permanent curl. Clean with diluted white vinegar only – bleach and citrus cleaners break down the rubber polymer faster than the gasket’s normal wear cycle.
Yes, it’s a mold risk. A fan that’s lost airflow to dust on the blades means moisture isn’t venting, which makes mold appear at the ceiling line and behind the tile roughly twice as fast. Clean the blades and housing every six months, and replace the fan if the motor is over ten years old.
Two things. Hard water (typically 9 to 12 grains per gallon) is scaling the showerhead and cartridges faster than in most Texas cities, so descale quarterly rather than twice a year. And clay soils mean grout cracks that recur in the same line are usually movement, not failed sealer – that joint needs a flexible sealant, not more grout. Call (888) 255-7593 for a free Grand Prairie estimate if you’re seeing repeat failures.
Yes. A water heater set above 140°F degrades tile adhesive, shower valve cartridges, and O-rings faster, and a failing temperature and pressure relief valve means the fixtures run through the consequences. Have the T&P valve and anode rod inspected annually by a qualified plumber. We set 120°F as the standard when we spec a bathroom, and we recommend a professional call for anything involving the valve itself.
The Bottom Line
A remodeled bathroom is a system with a maintenance clock that starts at the day of handover. Two hours twice a year, plus an annual seal and a couple of valve checks, is the difference between a bathroom that lasts fifteen years and one that needs a tearout at year six. The routine is simple: caulk in spring and fall, seal grout in the same cadence as its material type, clean the exhaust fan every six months, keep the shower door gasket on a three-to-five year replacement cycle, and test the water heater’s T&P valve annually. In Grand Prairie, add quarterly descaling for the hard water. Everything else is detail. If you ever see water damage or repeated failure in the same spot, that’s a waterproofing issue, not a maintenance issue – call (888) 255-7593 for a free estimate before you touch the tile.
Written by the team at Bradford Remodeling Co Grand Prairie.